Installing a glass splashback in your kitchen is a fantastic way to update the look of one of the most important rooms in your home. Not only do glass splashbacks come in a variety of colours and finishes to suit any decor, but they are also practical, easy to clean, and can make a small kitchen appear larger. Whether you’re a seasoned DIY enthusiast or considering a professional installation, here are some tips and advice to ensure installing a glass splashback is a success.
Preparation is Key
Before you begin, it’s crucial to ensure that the wall where you’re installing a glass splashback is smooth, clean, and dry. Any bumps or dirt can affect the adhesion and appearance of the splashback. If you’re painting the wall, do it well in advance to ensure it’s completely dry.
Measure Twice, Cut Once
Accurate measurements are vital. Measure the space for your splashback carefully, and remember to account for any cutouts for electrical sockets or switches. Remember glass, once cut, cannot be modified.
Choosing the Right Glass
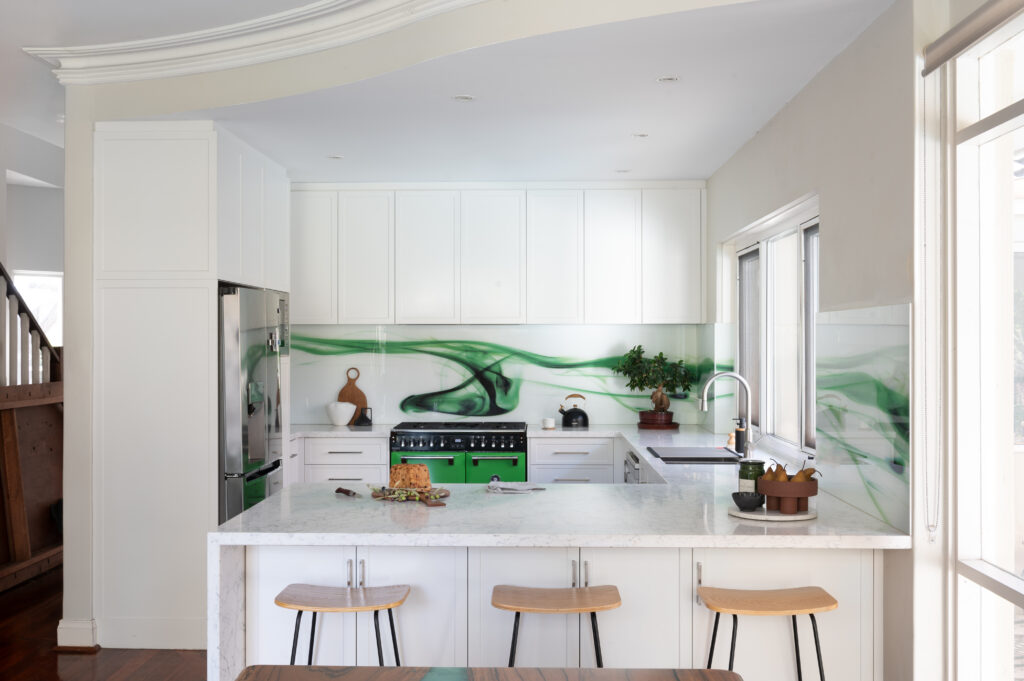
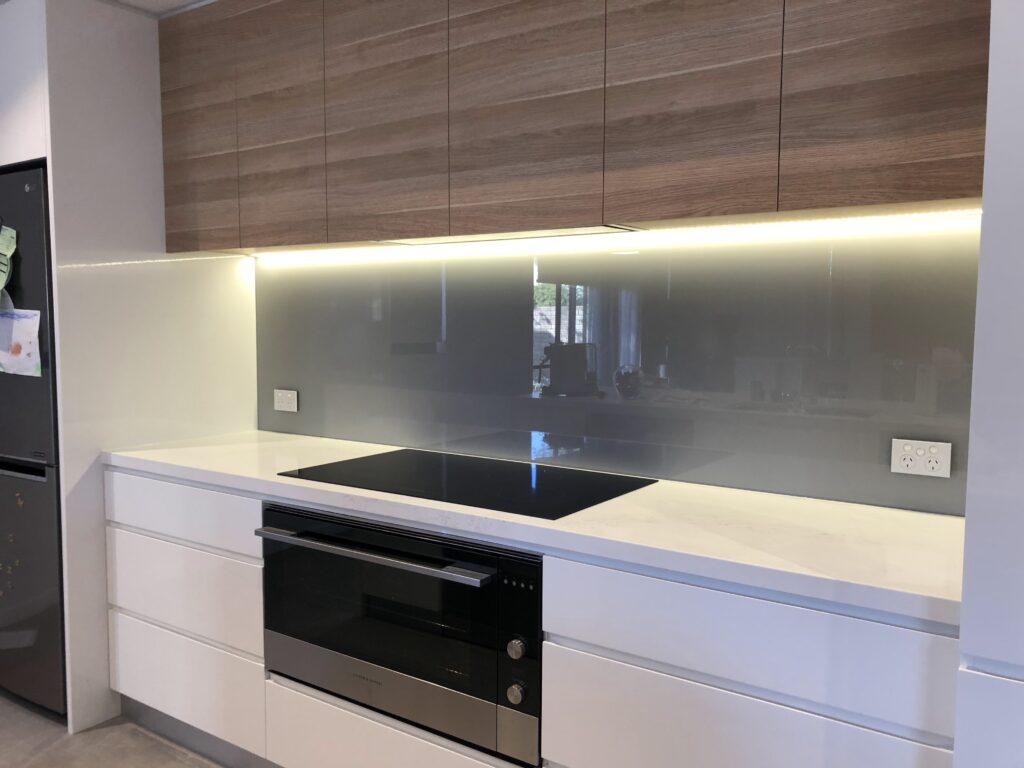
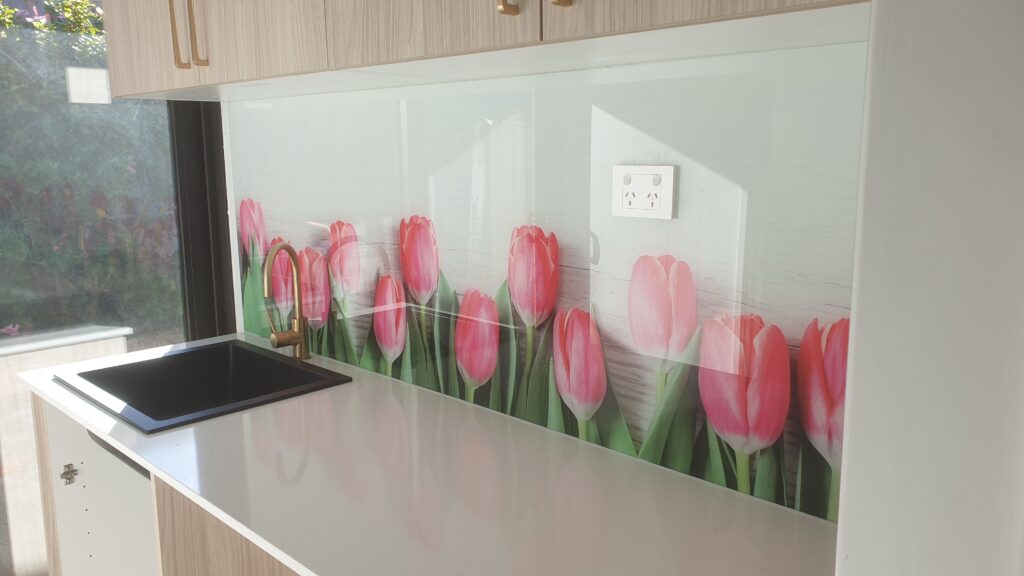
Not all glass is suitable for use as a splashback. It should be toughened safety glass, which is heat resistant and less likely to break – exactly what we offer at DGW. When choosing the colour or pattern, consider how it will match with your countertops, cabinets, and overall kitchen style.
Installation Process
If you’re doing it yourself, you’ll need a clear silicone adhesive suitable for glass. Apply the adhesive in blobs or a zigzag pattern on the back of the splashback, then carefully place it against the wall. It’s important to leave a small gap (usually a few millimetres) at the bottom of the splashback to allow for expansion.
Choosing the Right Glass
Not all glass is suitable for use as a splashback. It should be toughened safety glass, which is heat resistant and less likely to break – exactly what we offer at DGW. When choosing the colour or pattern, consider how it will match with your countertops, cabinets, and overall kitchen style.
Installation Process
If you’re doing it yourself, you’ll need a clear silicone adhesive suitable for glass. Apply the adhesive in blobs or a zigzag pattern on the back of the splashback, then carefully place it against the wall. It’s important to leave a small gap (usually a few millimetres) at the bottom of the splashback to allow for expansion.
Whether you choose to install your glass splashback yourself or hire a professional, the result can be transformative for your kitchen. With the right preparation, materials, and care, your new splashback will be a stunning and practical feature in your home for years to come.
If you’re ready to your new project get in touch with our team today